
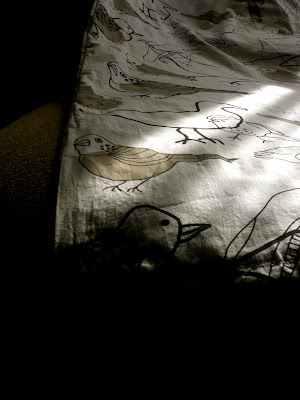
My procrastination ended with the very first step of throwing this hunk o' fabric in the wash: Washing the fabric and drying it on the highest temp. possible ensures that if I am to ever wash my curtains, the fabric wouldn't shrink and throw off the original measurements and ruin my creation. Washing the curtains: Completed. The next set of obstacles that stood in the way of really getting this project going, were measuring the window, then cutting the fabric (which I had purchased as one ridiculously long, cumbersome piece of fabric) into two identical pieces that would sit together quite perfectly. That step: Done. Then it was off to iron my giant squares.


(Note: It's helpful to pin with the ends pointing toward you to pull them out quickly and easily when you're cranking out your A lines.)

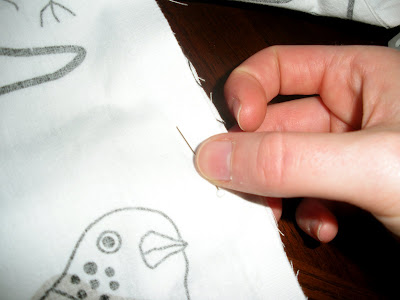
My crisp linens now were to be backed up to one another (good sides facing in) and pinned. My trusty Shark Pro was threaded and ready to go. A press of the foot pedal and I was off to make, what essential is, an over-sized pillowcase. Although a very easy task, an abbreviated moment of terror and insecurity washed over me: I didn't want to mess up my pretty little birds. I got over it quickly. Besides, I had made boxers and a drawstring bag in middle school, why wouldn't I be able to handle sewing three, eventually four sides of fabric together.


I decided to fold and iron the bottom and stitch up and
finish off my mighty pillowcase, ahem, curtain.


One fine rectangle if I do say so myself...


Next step: Sew a pocket for the rod and adhere the ribbon (a.k.a. "the finishing touches" noted here: staple guns, chicken-head wine and zippers) to the front and back to complete my tweety tie-up curtain.
Want to do the same? I pretty much just went ahead and did this without consulting directions or much advice, which is typical. But if you're the direction type this may help: How to Make Tie-Up Shades.
Final results to come...
No comments:
Post a Comment